
What Is Vibe Coding
Vibe Coding isn't "press a button and AI ships your product." It's a new way of collaborating: you describe your goal, constraints, and acceptance criteria in plain language, and AI helps you generate, modify, explain, and iterate on code.
First time trying it, it feels like magic. After a few real projects, you'll realize it's more like a new engineering workflow.
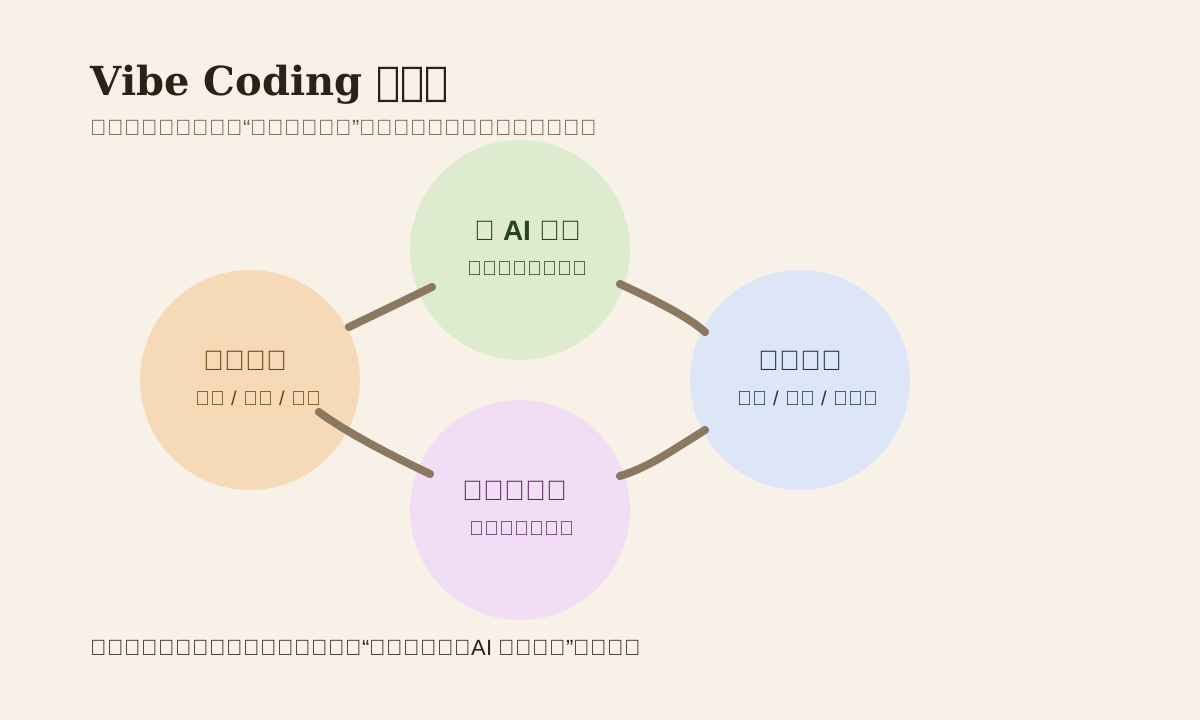
What Vibe Coding Actually Replaces
It mostly replaces mechanical tasks:
- Scaffolding setup
- Writing boilerplate code
- Context-switching between docs and your IDE
- Manually translating a clear, small requirement into code
- Googling scattered forum posts based on error logs
What it doesn't replace — the stuff that's actually valuable:
- Defining the goal
- Judging priority
- Making architecture tradeoffs
- Validating results
- Owning production risk
So the core of Vibe Coding isn't "write less code." It's pulling yourself out of low-density labor so you can do the kind of thinking that actually matters.
Quick Overview: Where It Works and Where It Doesn't
| Scenario | Fit? | Why |
|---|---|---|
| UI tweaks, component completion | Great fit | Fast feedback, easy to validate |
| CRUD, forms, type definitions | Great fit | Clear rules, highly repetitive |
| Error investigation, root cause | Good fit | AI can do a solid first-pass analysis |
| New project prototyping | Good fit | Gets you a first version fast |
| Payments, auth, permission systems | Use caution | Mistakes here have high consequences |
| Core architecture upgrades | Use caution | You need to define the plan first |
| Compliance, security-sensitive logic | Don't hand it off | Humans must lead the review |
A Full Vibe Coding Cycle
1. Spell Out the Task
An effective prompt usually covers at least four things:
- Goal: what you're trying to do
- Context: which project, which file, what business context
- Constraints: tech stack, style, boundaries you can't touch
- Acceptance: how to tell if it's done right
2. Get AI to Plan Before It Codes
Letting AI jump straight into code changes often leads to "it changed stuff, but in the wrong direction." Have it output a plan first — much easier to course-correct early.
3. Small Steps, Small Validations
Don't ask AI to modify a dozen files and then review everything at once. A safer approach:
- Change one thing
- Run it
- Note any issues
- Feed the error and result back into the next prompt
4. Save the Prompts That Work
The real productivity gap isn't between people who can say "write this for me" and those who can't. It's between people who accumulate reusable instruction templates, acceptance checklists, and debug patterns into their own workflow — and everyone else.
Common Beginner Traps
| Trap | What happens | Fix |
|---|---|---|
| Vague requirements | AI produces plausible-looking but off-target code | Specify input, output, and boundaries |
| Changing too much at once | Hard to pinpoint what introduced the bug | Break it into 1-2 small tasks |
| Not pasting the error | AI can only guess at the problem | Paste the log, screenshot, or call stack |
| Reading code without running | Code "looks right" but doesn't actually work | Validate every round |
| Treating AI as the accountable owner | Nobody catches the mistakes when things go wrong | You must retain sign-off authority |
A Starter Playbook for Beginners
If you're trying this for the first time today, this order works best:
- Pick a small, verifiable task in a project
- Have AI output an implementation plan
- Then have it generate the code
- Run the project or tests
- Paste any errors back and iterate
- Ask it to summarize "how to go faster next time"
The point of this flow isn't nailing it on the first try. It's building the rhythm of "prompt -> generate -> validate -> iterate."
A Copy-Paste Prompt Template
You're helping me complete a task in a [tech stack] project.

Goal:
[What to implement]

Project context:
[Relevant files, existing logic, dependency constraints]

Constraints:
- Don't modify unrelated files
- Keep the existing code style
- If anything's unclear, give me a plan before making changes

Acceptance criteria:
- [Feature A]
- [Feature B]
- [How to test or run]
Practice
Pick a tiny task to start:
- Write a
hellofunction with parameter validation - Add a loading state to an existing button
- Extract a piece of repeated logic into a shared function
Hold yourself to three things:
- Write clear acceptance criteria first
- Only let AI change one small thing at a time
- Run and validate every round
Tool Recommendations
Cursor: Best for multi-file edits and context-aware collaboration inside your IDEClaude Code: Best for task decomposition, terminal workflows, and codebase-level changesGitHub Copilot: Best for inline completions, explanations, and quick IDE assistance
Don't try to learn three or four tools at once. Get comfortable with one first, then branch out.
Takeaway
The most valuable thing about Vibe Coding isn't that it lets you think less — it's that your thinking turns into verifiable results faster. What you actually need to practice isn't "making your prompt sound like a magic spell." It's learning to describe requirements clearly and validate results thoroughly.
[VIBE_CODING_LAB_BANNER]
📚 Related resources
❓ Common questions
Open a question to review the practical answer.
Is Vibe Coding "press a button and AI ships the whole product"?
No. Vibe Coding is a collaboration style: you describe goals, constraints, and acceptance criteria in natural language, and AI generates / edits / explains / iterates the code. Direction-setting and sign-off stay with you. AI replaces the mechanical translation from requirement to code, not the judgment around priority, architecture trade-offs, and production accountability.
Which tasks suit Vibe Coding and which do not?
Good fit: UI tweaks, component completion, CRUD + forms + type definitions, error triage, fresh prototypes — fast feedback, easy to validate, clear rules. Be careful with: payments, auth, permission systems, core architecture upgrades — high blast radius, you must own the plan. Do not hand off entirely: compliance and security-sensitive logic require human review.
What are the steps of a complete Vibe Coding loop?
Four steps: (1) Brief the task — goal + context + constraints + acceptance, all four required; (2) Have AI propose a plan before touching code, so you can course-correct early; (3) Execute small, validate small — one change → run → note issues → feed errors back; (4) Persist prompt templates that work — the productivity gap is not who can say "write this for me" but who has their own instruction templates, acceptance checklists, and debug playbooks.
What are the most common Vibe Coding pitfalls for beginners?
Five frequent pitfalls: (1) vague requirements → AI ships "plausible but off-target" code, fix by spelling out input / output / boundary; (2) too many files at once → impossible to triage, slice into 1-2 small tasks; (3) no error context → AI can only guess, paste logs + screenshots + stack traces; (4) reading code without running it → "looks right" ≠ runs, validate every round; (5) treating AI as the final owner → no one to catch failures, sign-off authority stays with the human.
Should I learn Cursor, Claude Code, or GitHub Copilot first?
Three different sweet spots: Cursor for multi-file edits and context-aware work inside the IDE; Claude Code for task decomposition, terminal workflows, and codebase-wide changes; GitHub Copilot for inline completion, explanation, and IDE assistance. **Do not learn three or four at once** — get fluent with one before expanding. Start with Cursor if you are new to coding; engineers already living in the terminal get more leverage from Claude Code.